Upgrading a Repeater Builder STM32-DVM-MTR2K with MMDVM Firmware v1.6.0+

The following instructions describe how to update an STM32-DVM-MTR2K MMDVM modem for use in a Motorola MTR2K with an OrangePi NanoPi. Doing this update will add the M17 Digital Voice mode to the MMDVM modem.
Essential information
It is important to know that out-of-the-box, the Repeater Builder STM32-DVM-MTR2K ships with:
- MMDVM modem board designed for use with the Motorola MTR2K
- Orange Pi NanoPi with 16GB SD card flashed with Pi-Star (v4.1.5)
Optional:
- Ethernet extension
- Nextion Display
It is also important to know a functioning MMDVM M17 system consists of at least these three elements:
- The firmware of the MMDVM modem, whose version must be equal to or above 1.6.0
- A recent version of the MMDVMHost program
- The gateway program M17Gateway, which connects the controller to the reflectors
As shipped, the SD card in the NanoPi runs an older version of the Pi-Star software; with very outdated gateways and binaries. WPSD can (and should) be used instead.
Updating the modem firmware
Update the OS and get tools for compiling
-
Attach the NanoPi to your network via an Ethernet cable.
-
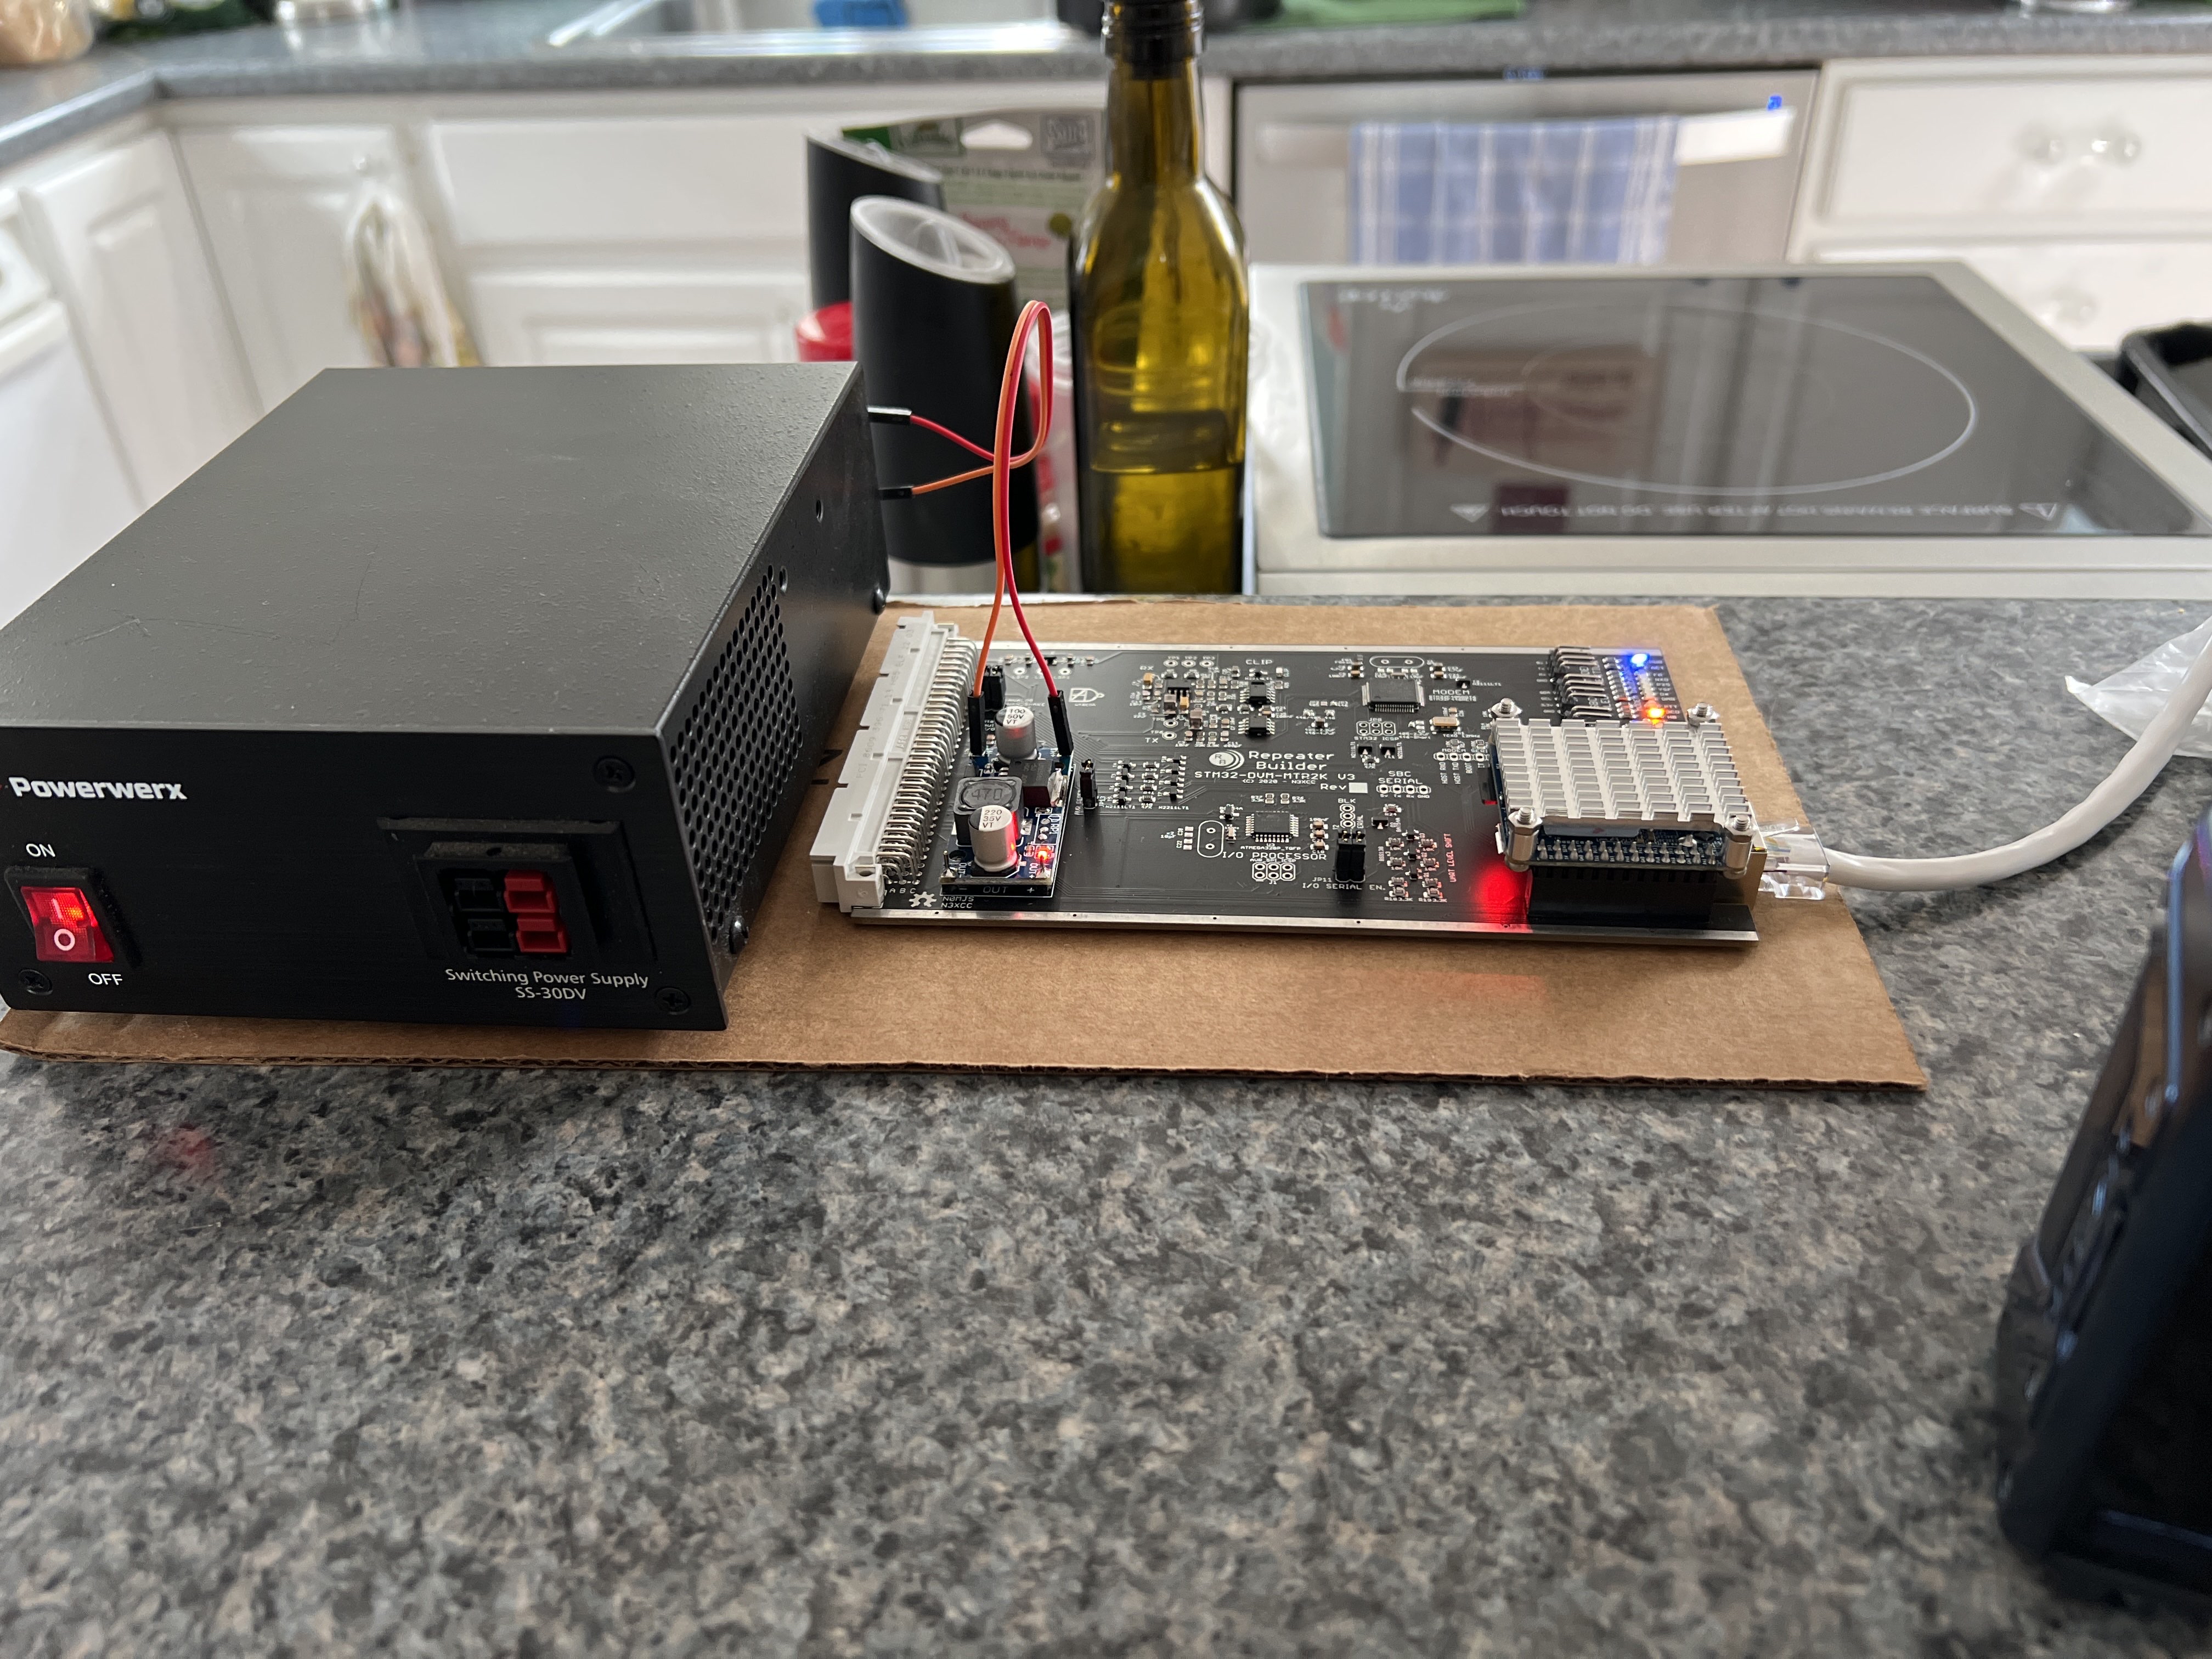
Apply power to the DC converter on the modem board. The DC converter is the blue board on the modem board, and has four pins extending from the top. Be sure to note the labeled polarity and which pins are labeled as input
(IN+ / IN-). The DC converter will take voltages from 7v-15v. A standard 14.1v power supply such as the Powerwerx SS-30DV will work. -
Allow the NanoPi to boot into Pi-Star. This may take several minutes. If this is a brand new (unconfigured) Pi-Star installation, configuration of Pi-Star is not needed at this time.
-
Using an SSH client, log into Pi-Star running on the NanoPi.
-
Update the operating system and get the needed tools for retrieving the sources and compiling them.
sudo apt update
sudo apt install git gcc-arm-none-eabi gdb-multiarch libstdc++-arm-none-eabi-newlib libnewlib-arm-none-eabi
OPTIONAL - Update stm32flash to the latest available version
cd ~
git clone https://git.code.sf.net/p/stm32flash/code stm32flash
cd stm32flash
make
sudo make install
Download the firmware as source code
The newest firmware can always be found on GitHub.
cd ~
git clone https://github.com/g4klx/MMDVM.git
cd MMDVM/
git submodule init
git submodule update
Prepare compiling / set flags to suit your hardware
You will need to edit Config.h with the appropriate settings for the NanoPi and the modem:
nano Config.h
The only configuration option that needs to be changed is the UART speed used for communication between the NanoPi and the modem. All other configuration options can remain unchanged. Comment out #define SERIAL_SPEED 460800 and uncomment #define SERIAL_SPEED 500000
// #define SERIAL_SPEED 460800	// Only works on newer boards like fast M4, M7, Teensy 3.x. External FM should work with this
#define SERIAL_SPEED 500000  // Used with newer boards and Armbian on AllWinner SOCs (H2, H3) that do not support 460800
Save the file and exit.
Compiling
Compile the firmware.
make eda446
If everything compiles as expected, you are ready to flash.
Flash the firmware
Firstly, STOP the running Pi-Star services. Not doing so will block stm32flash from being able to access the UART.
sudo pistar-watchdog.service stop
sudo systemctl stop mmdvmhost.timer
sudo systemctl stop mmdvmhost.service
To flash the new firmware to the board, the board must be placed in “bootloader” mode. To enable this:
- Place a jumper across J14 (labeled
LOAD) on the modem board - Briefly press the Reset button, located next to the jumper
When the board is successfully in bootloader mode, several of the LEDs will be steadily lit, and none should be blinking at this time.
You can now run the command to flash the firmware to the board:
sudo make deploy-eda446
This process can take a few minutes to complete. While the board is being flashed, you may see the ACT LED blinking. This is normal. The board will be reset upon completion of the flashing process.
Due to the way that the Makefile for the firmware is written, the flashing process may try to run twice, throwing an error after the board restarts at the end of the first flashing process. This error can be ignored.
After the board restarts, the HB LED should be flashing slowly. You can now restart the NanoPi.
OPTIONAL Migrate Pi-Star to WPSD
Updating Pi-Star to include the latest binaries for use with MMDVM firmware v1.6.0+ is outside the scope of this document. However, you can intall WPSD…
Follow the instructions found at https://wpsd.radio to upgrade to the latest binaries and dashboard configuration.
When configuring WPSD to use the updated STM32-DVM-MTR2K, use the modem option STM32-DVM-MTR2k (GPIO v3+ 500000 baud). All other configuration options can be set as normal.
 M17 Project Wiki